I know it’s been a while since I did a blog post on the new build! I debated whether I should share the foundation stage because it seems a little bit boring, but you guys requested it so here it is! 😉 As mentioned in the blog post explaining why we decided to build again, we purchased our land in December 2018. Since we purchased the land in the winter, there wasn’t much we could do. We had to wait until spring to break ground on our property. Here’s an image of me that Nick captured while I was doing some Instagram stories of the property. 😉

While we waited, we had to get our floor plan approved by the county. Once it was approved, then the county issued us our building permit. Now to stake our property! Nick and the engineer staked the corners of the house.

In the image below, there are 4 stakes with a green flag, and that’s where the garage will be.

The pink flags below is where the house will be.

On May 10th, 2019, we broke ground! WOOHOO! This was definitely an exciting time for us! This was when sh*t was getting real. 😉
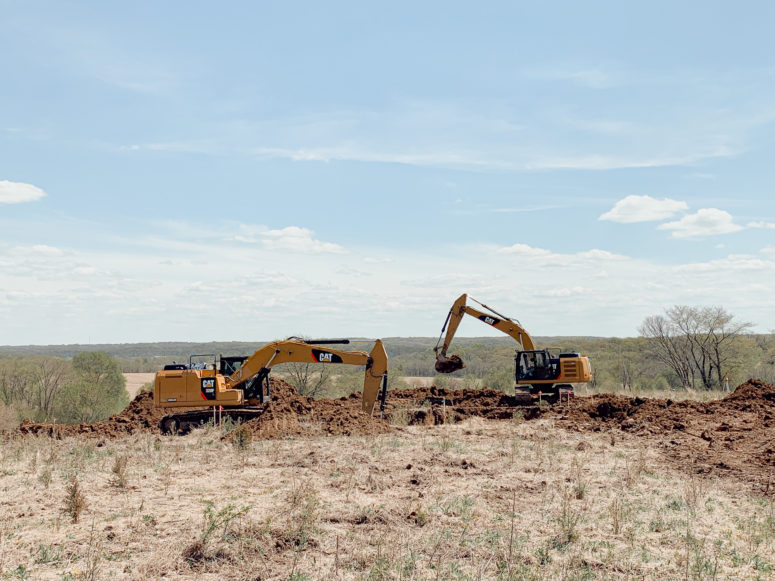
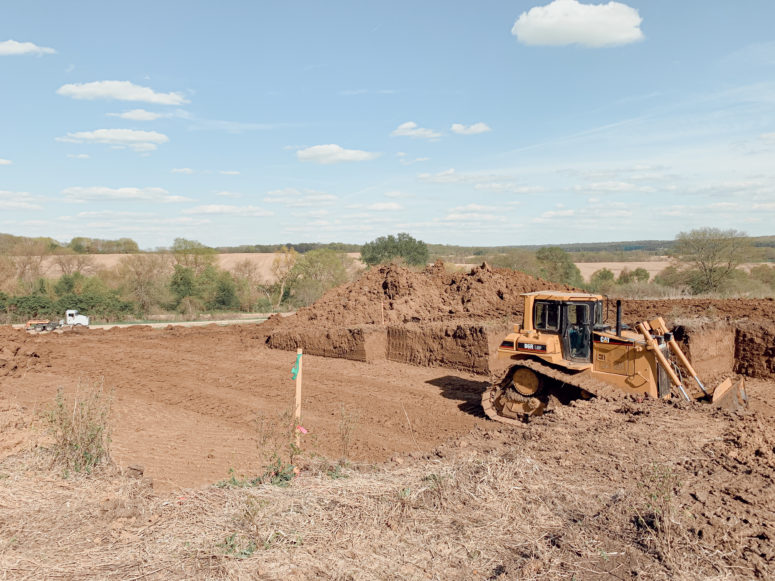
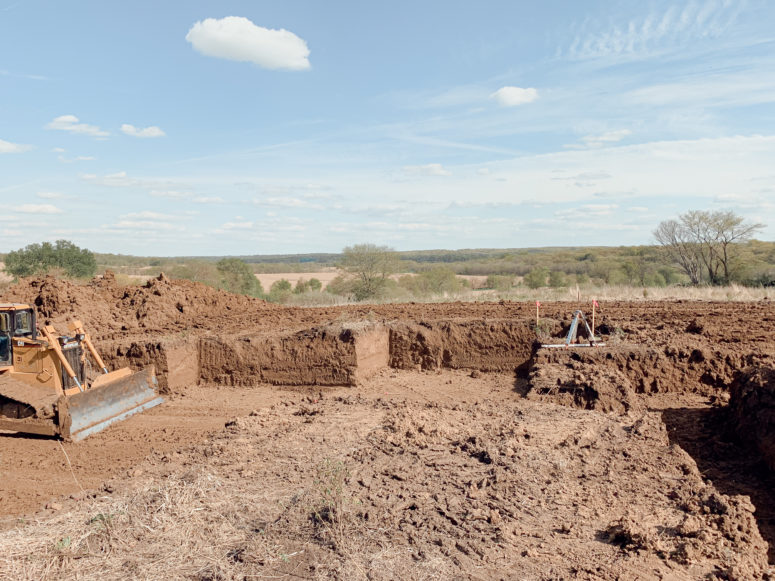
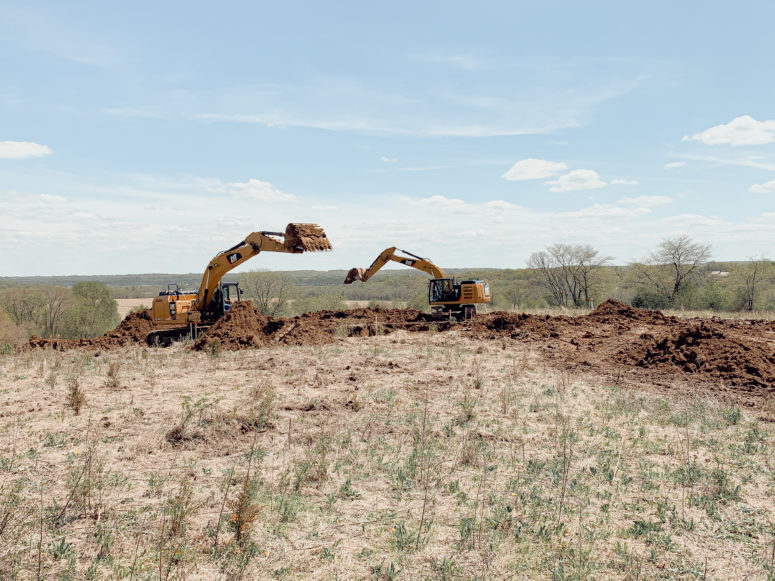
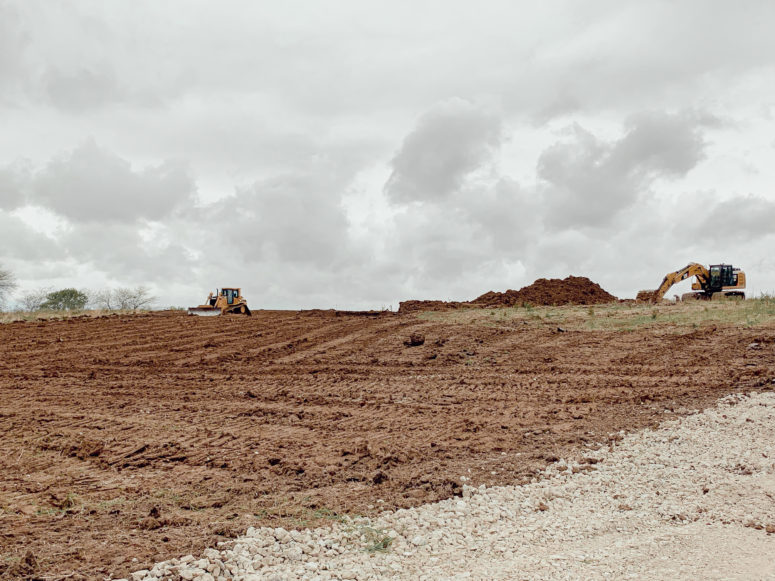
I remember this day like it was yesterday! We stopped at the house to check out the foundation walls going up.
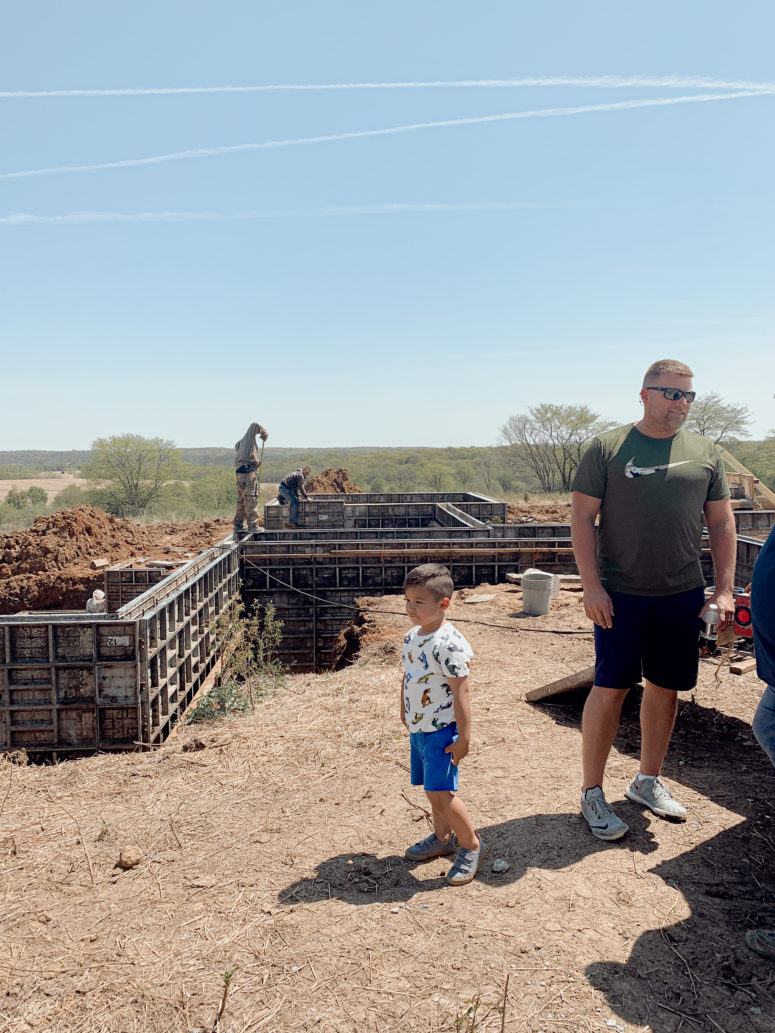
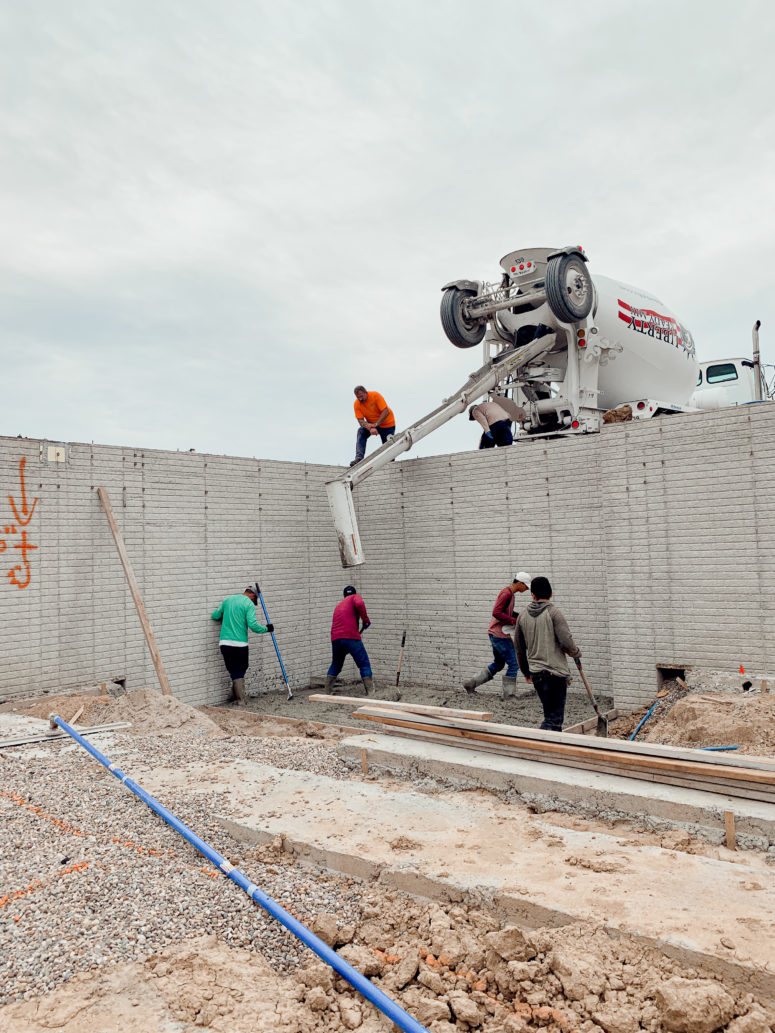
If you haven’t been through the building stage, they have to put up these foundation walls. Once the walls are up, then they pour the concrete inside the walls.
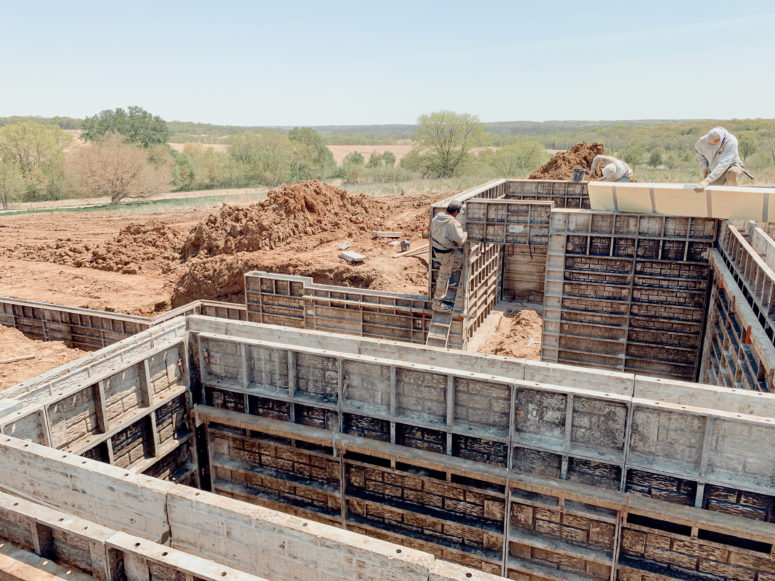
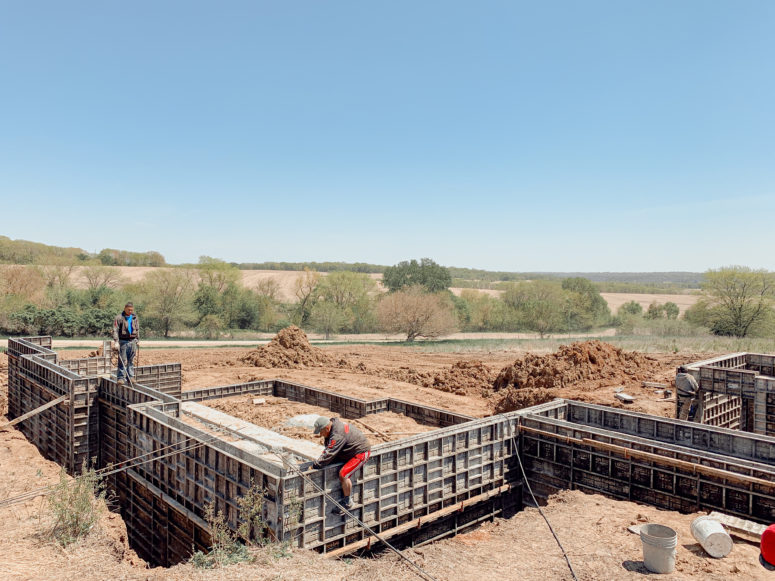
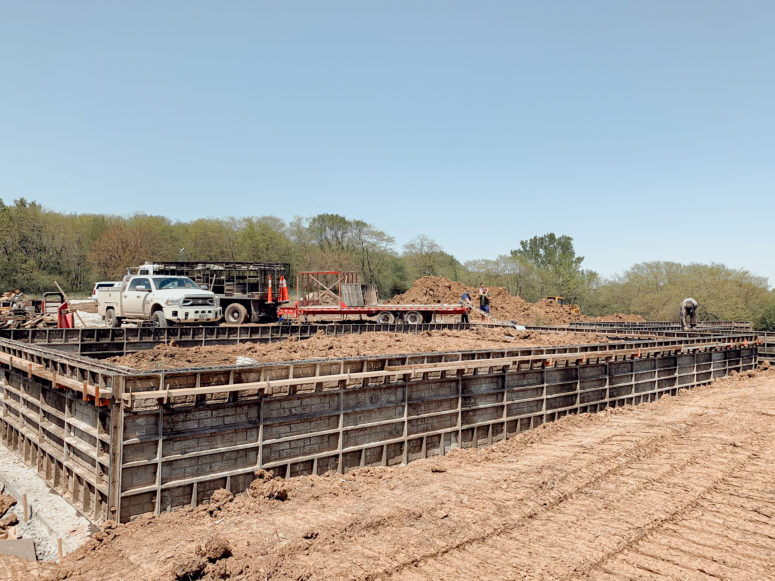
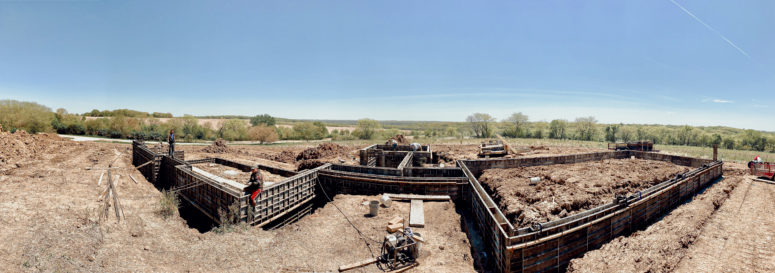
When I started sharing the foundation stage on Instagram stories, I got some questions asking if we used brick for our foundation. It’s a wall template that you have to ask for, but we used this one where it creates that brick look. In the image below, you can see they’re putting together the foundation walls. The cement gets poured in between the two walls, and once the cement dries, they take out the foundation walls. If you look close in the image below, you can see the brick template on the foundation walls.
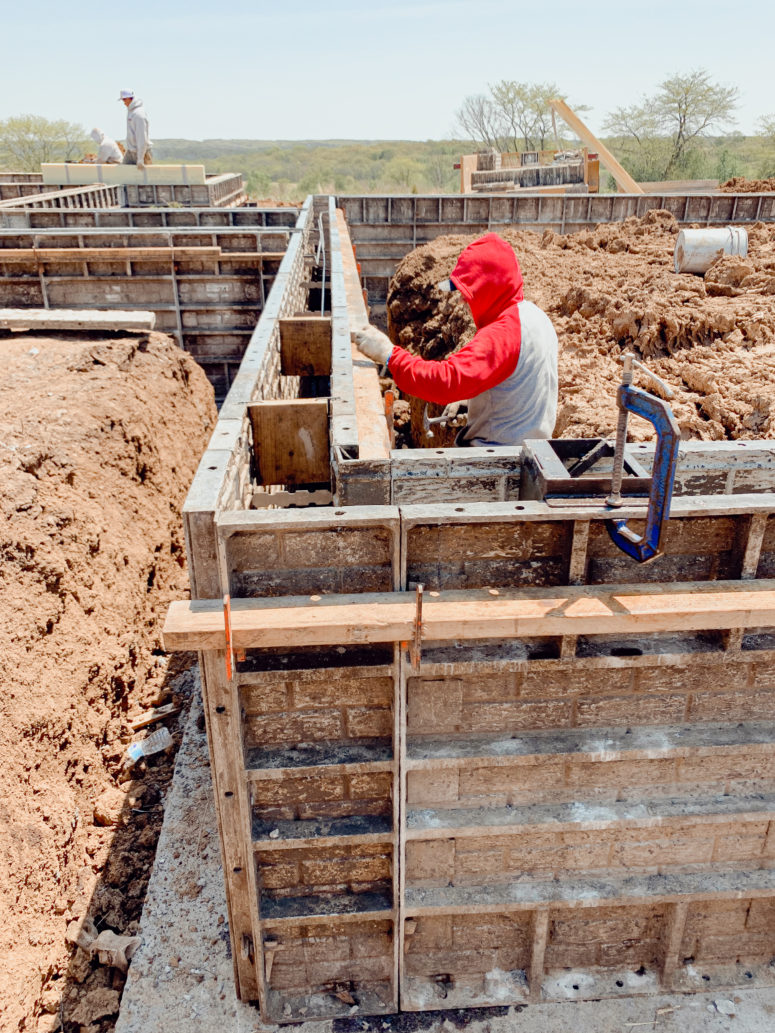
Where that guy is sitting is the dining room.
The area right in the middle of this image will be the front door.
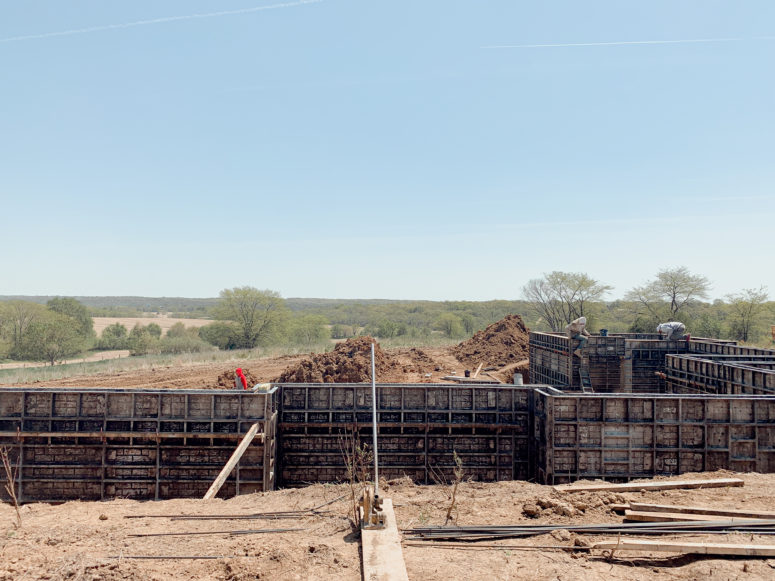
Here’s a front left corner view of the house.
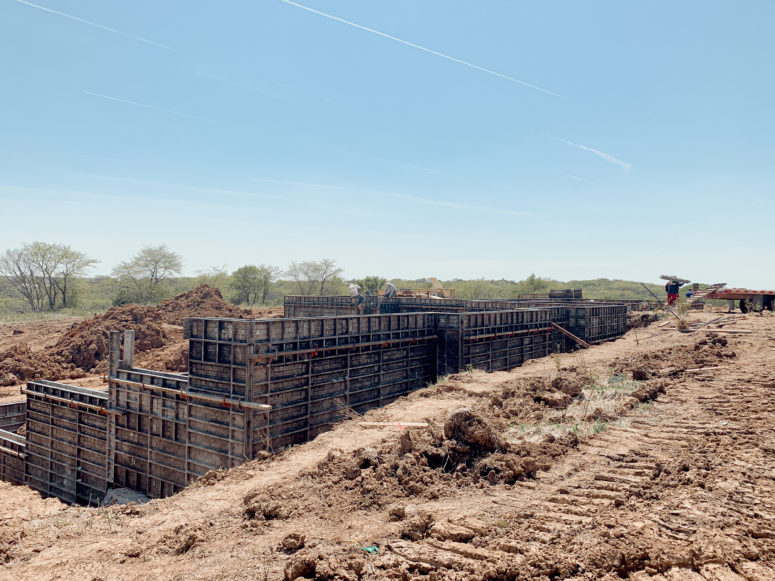
Here’s a view of the left side of the house!
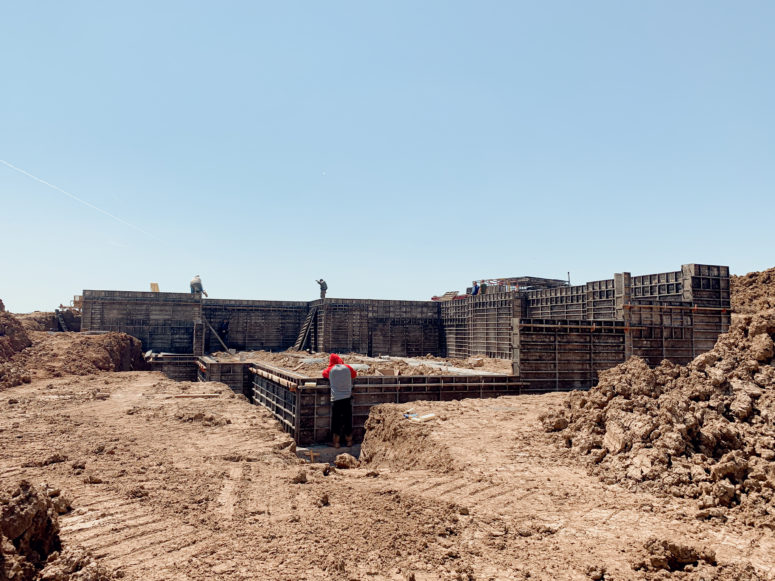
The back view!
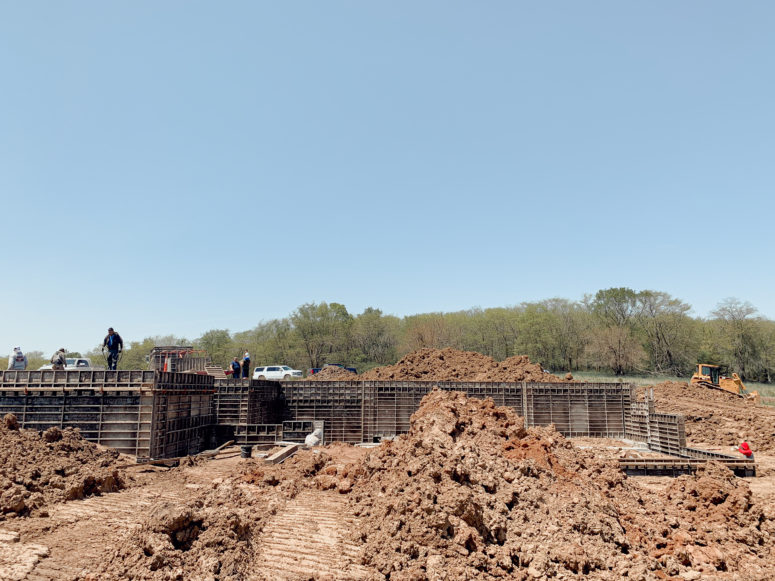
This is the back of the garage!

Here is what the foundation looks like after the concrete dries and the foundation walls are removed.
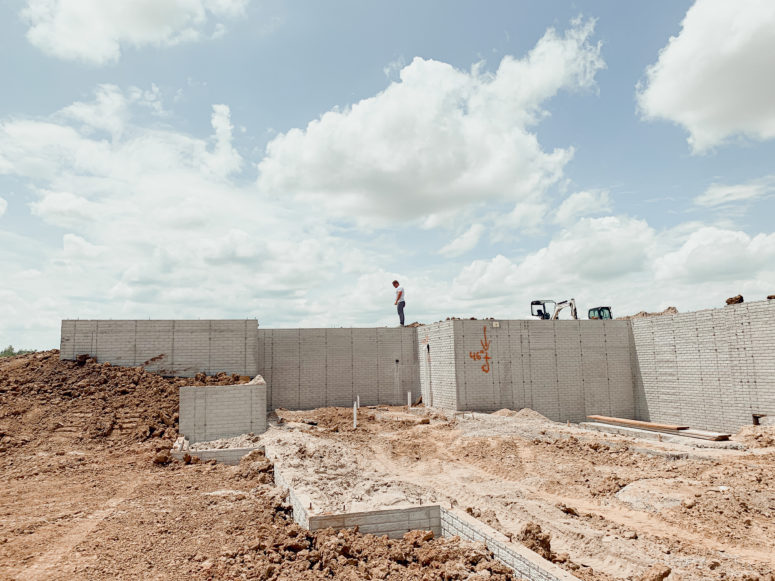
As you can see, it looks like brick with that template that was used.
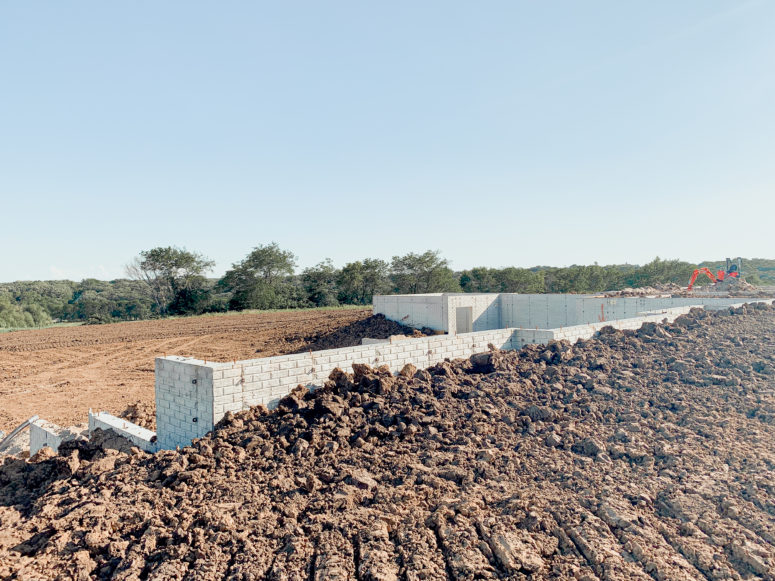
The right side doesn’t have concrete walls because that’s the walkout basement.
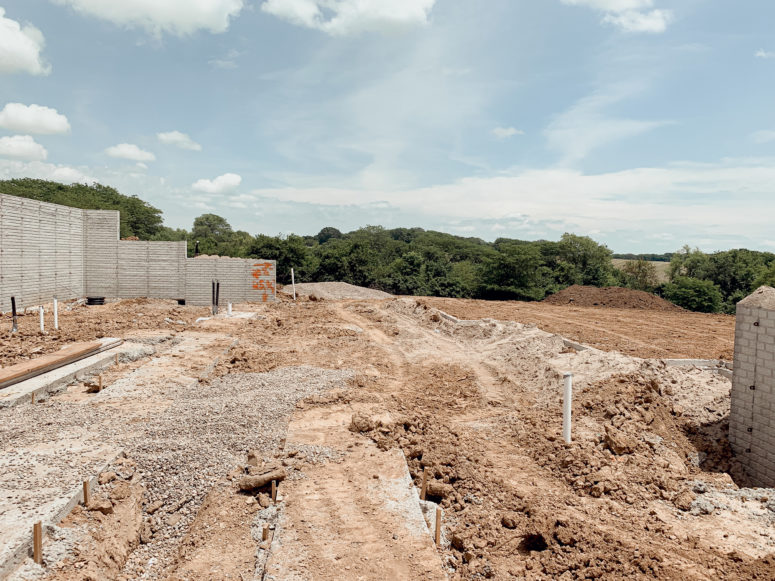
Back view of the house!
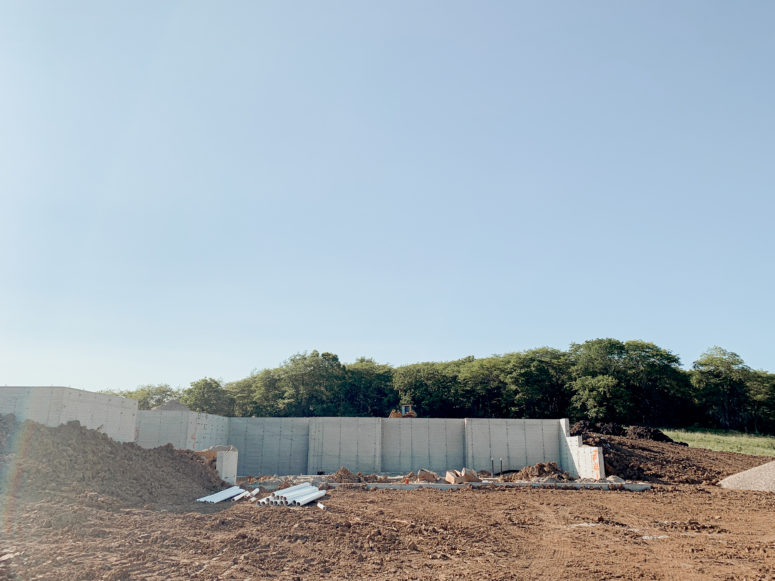
Here I’m standing by the four seasons room facing the back of the garage.

We will have a theater room with different levels, so the first concrete was poured in this space (far right corner of this image).
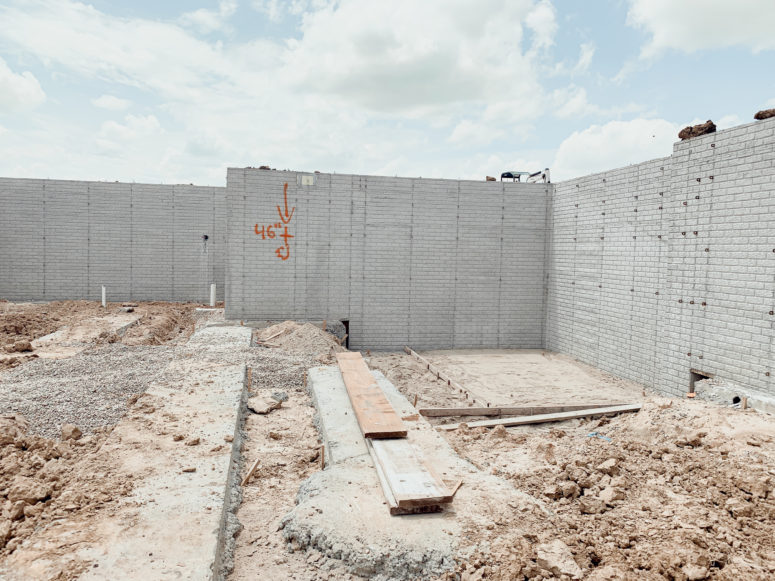
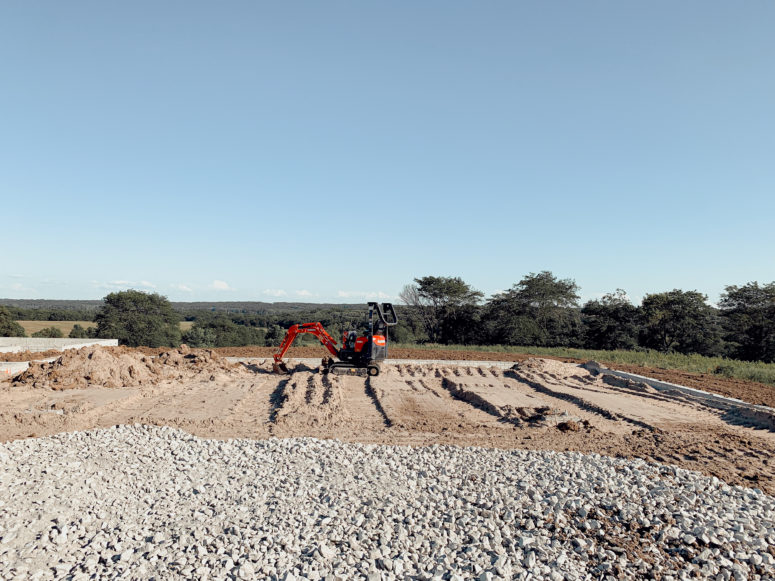
Before pouring the concrete in the garage and the basement, they have to level the area with sand and pea gravel as you can see below.
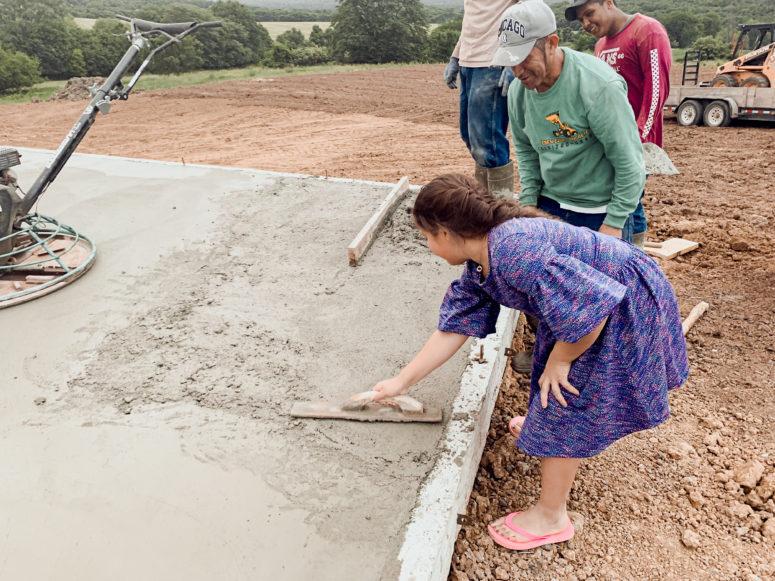
Now it’s time to pour concrete!

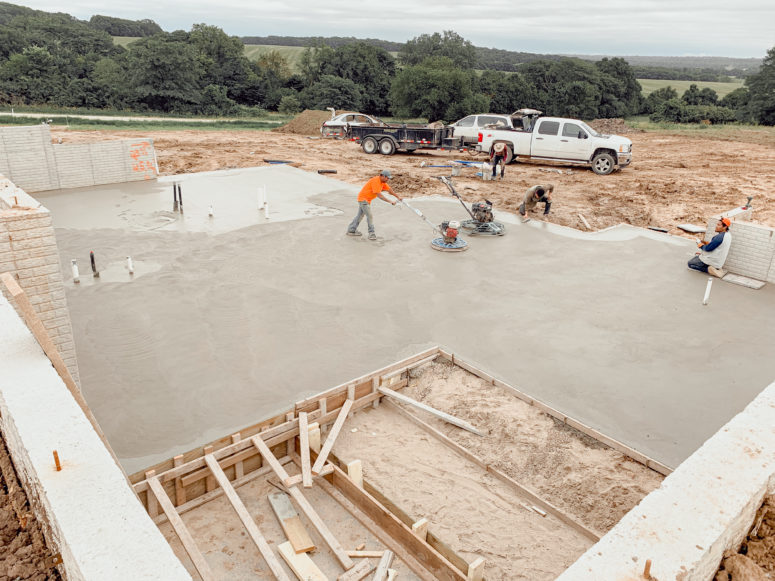
Here’s an angled view of the garage.
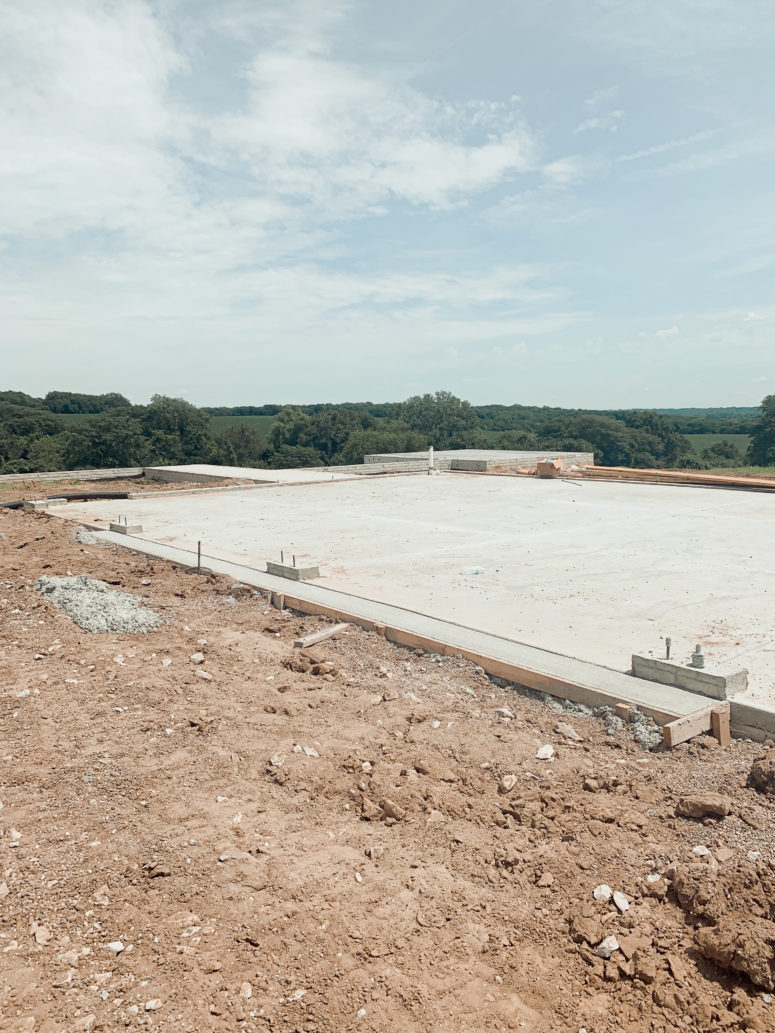
Here I’m standing in the breezeway facing the garage.
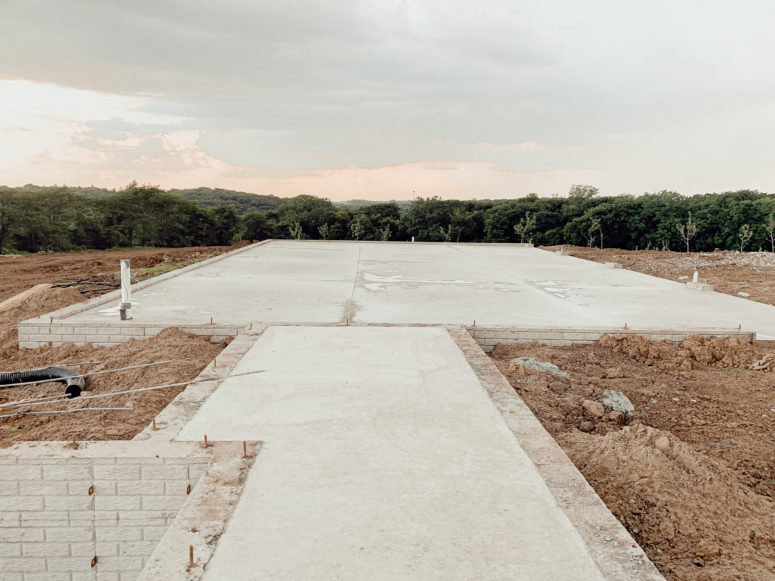
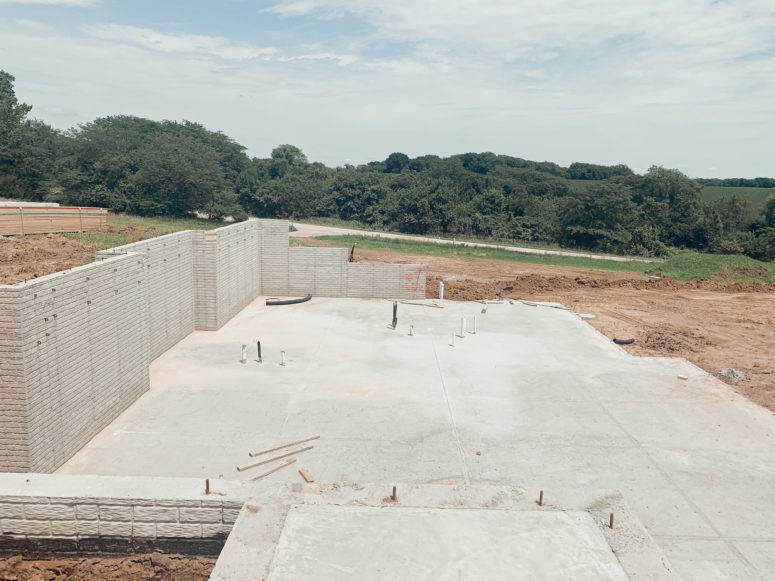
I hope you enjoyed that! The next phase is framing, and that’s when you start seeing the house come to life! If you have any questions, comment below and I’ll answer them. If you missed the other new build blog posts, make sure to check those out!

Rachael
Love hearing about the minor details. We are considering building but are overwhelmed with all of the considerations. Not sure if it’s too personal but would love an overall cost breakdown.
admin
RachaelHi Rachael! Thanks for following along! Unfortunately, I don’t really like talking about costs of our house, but my husband did a house building Q&A on Instagram. Check it out on my stories highlights! He talks about the general costs of building.
Monika M.
Foundations are not boring, very important to the rest of the home! Thank you for sharing your house building journey and information!
Nikole
Love this Foundation is the main part of the home and supports the rest of the home. Great information, beautiful home. Like seeing the progress.