This is a sponsored conversation written by me on behalf of Dutch Boy. The opinions and text are all mine.
{Cecilia Moyer} I have a love hate relationship with stenciling. It takes some patience, but the results makes it oh so worth it! I’ve stenciled a room in the last two houses we’ve lived in and knew for sure I wanted to do it again in our new house.
Since we just moved into our new house in October, I’m in operation “make this house a home” for every single room. Lennon’s bedroom has all white walls.
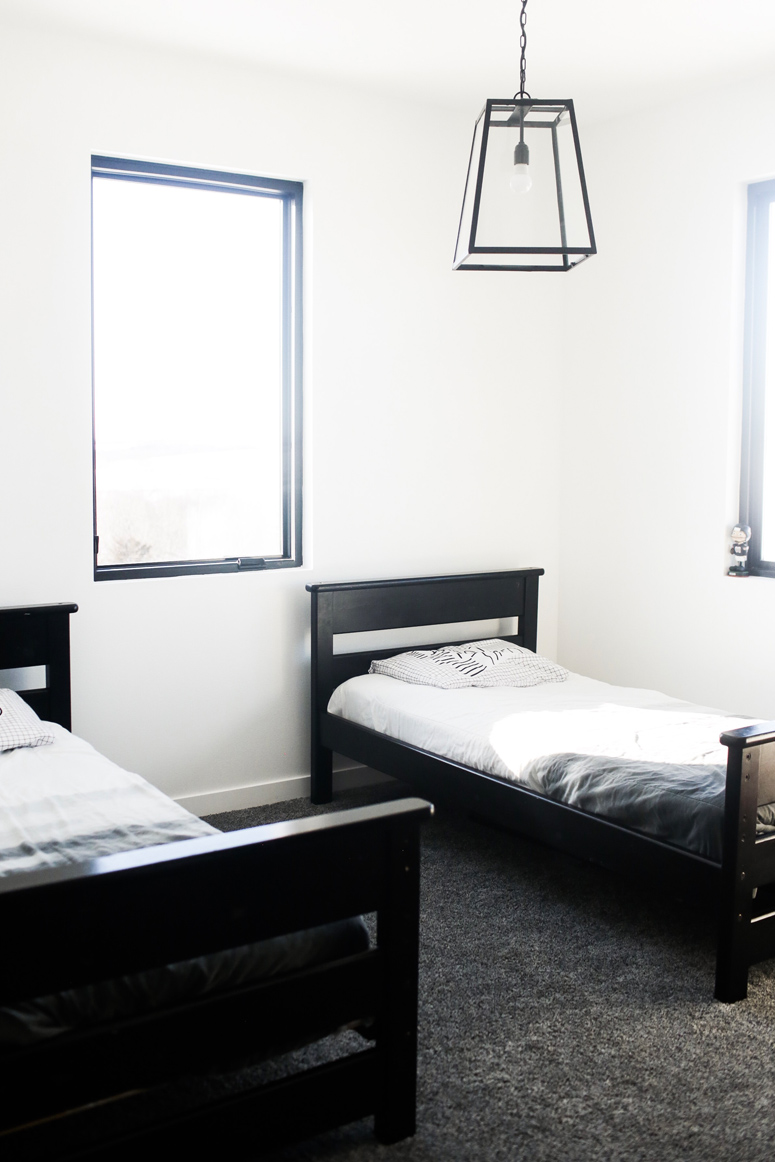
I want to add some life to this room and stencil is one way to do it with the help of Dutch Boy Paint! I decided to go with the paint color Cooled Graphite (436-6DB)! Cooled Graphite is actually one of Dutch Boy Paint’s 2019 colors as part of the Studio Color Trend Palette.

For this project, I got the Dutch Boy Paint in Cooled Graphite, Purdy rollers/paint brush/pan, and painters tape at Menards. The stencil I bought at Hobby Lobby!
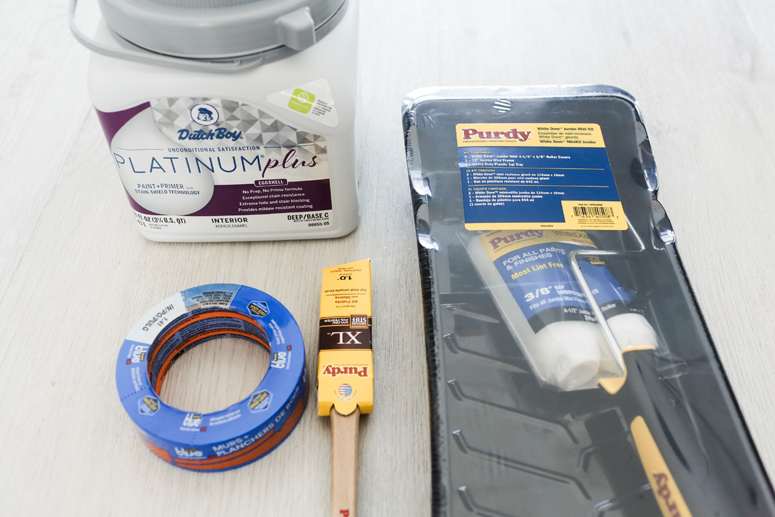
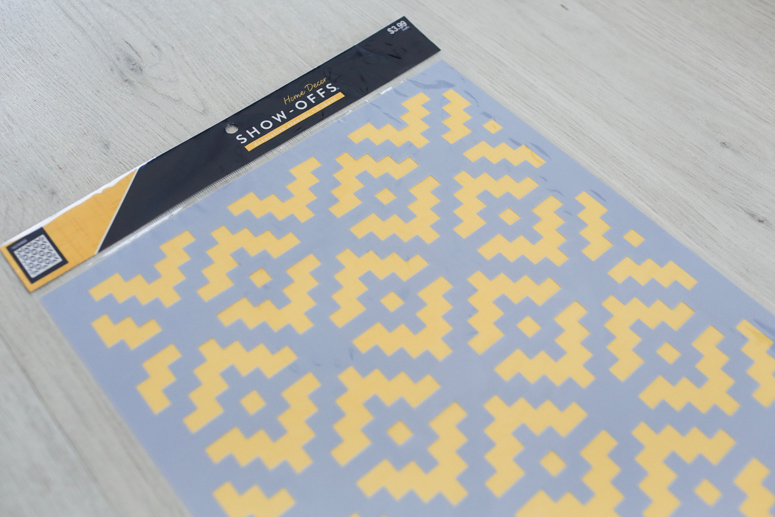
Time to start! First, I secure my stencil onto the wall with tape. Always make sure the stencil is straight by using a level. This stencil is actually pretty small in size compared to what I usually get, but $3.99 for a stencil is a great deal! The bigger the stencil definitely has its ups because it gives you more coverage on the wall which means less amount of time moving the stencil and leveling.
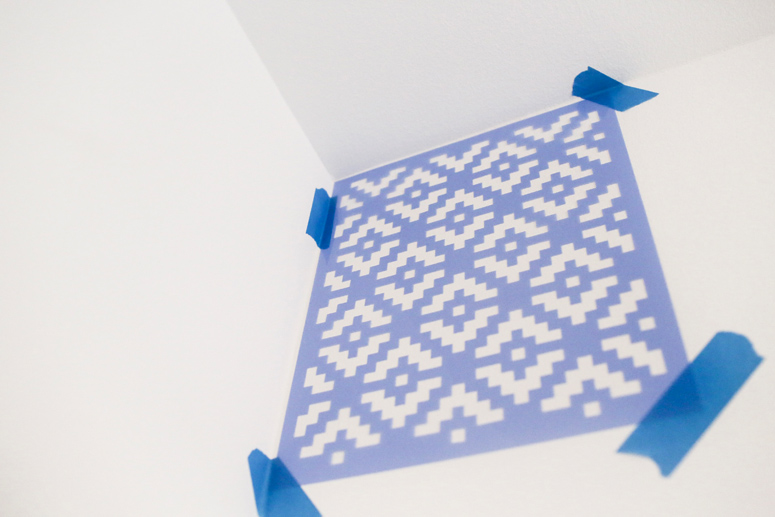 I started on the top corner. A great starting point is a spot where it’s not the first thing you look at when walking into the room. This is a great tip for those stenciling for the first time. 😉
Then it’s time to get the paint poured! Can I just mention real quick how I love the Dutch Boy twist and pour paint containers?! It’s like they listened to consumers and then BOOM, you have yourself this one of a kind container! Trust me, I know the struggles of typical paint cans. First, there’s an easy grip handle to make it easy for hauling around and when pouring paint into a pan.
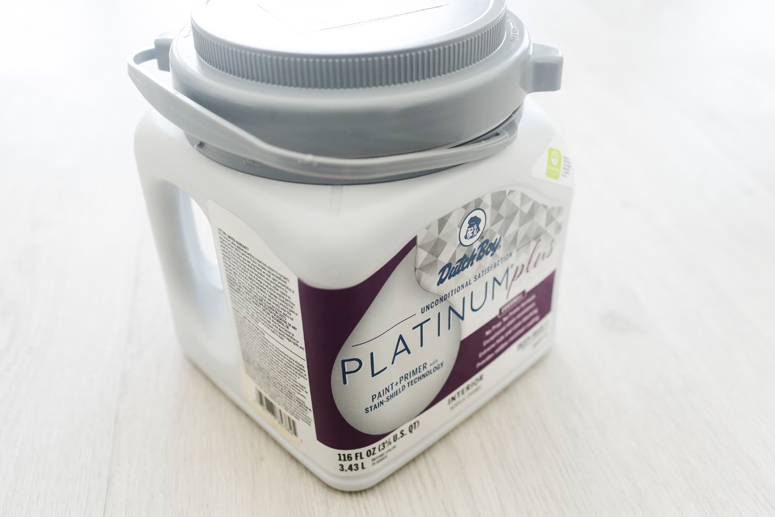
Second, you just twist to open! Usually, I’m trying to find a tool to pop a paint can open.
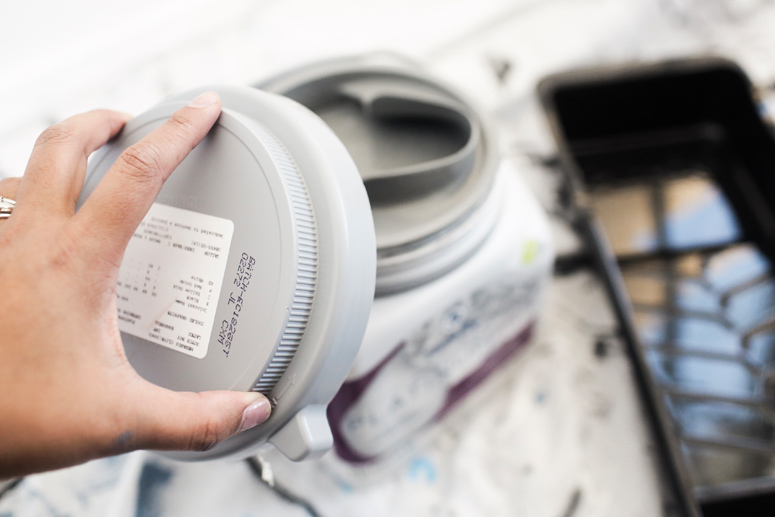
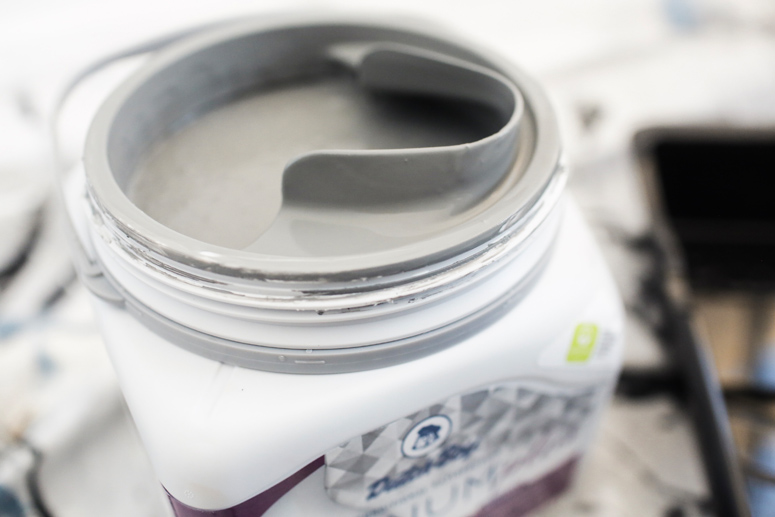
Third, there’s a spout for pouring the paint!
Time to start stenciling! My biggest tip to get crisp lines from the stencil is to use as little paint as possible on the roller. This also ensures that the paint doesn’t bleed under the stencil. You’ll be surprised how little paint can cover an entire stencil. Also, make sure that you don’t apply too much pressure when using the paint roller.
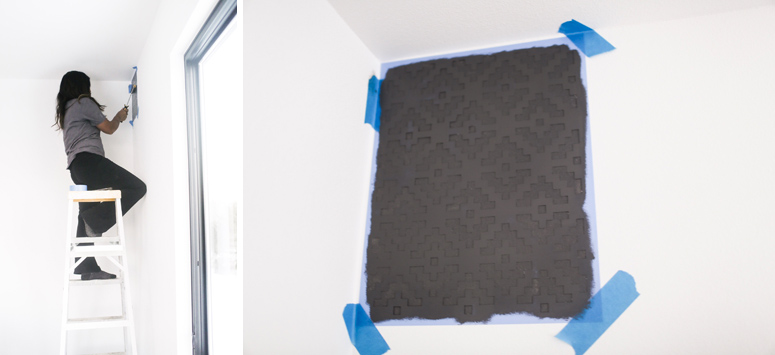
Once you get the hang of it, it actually goes pretty fast.
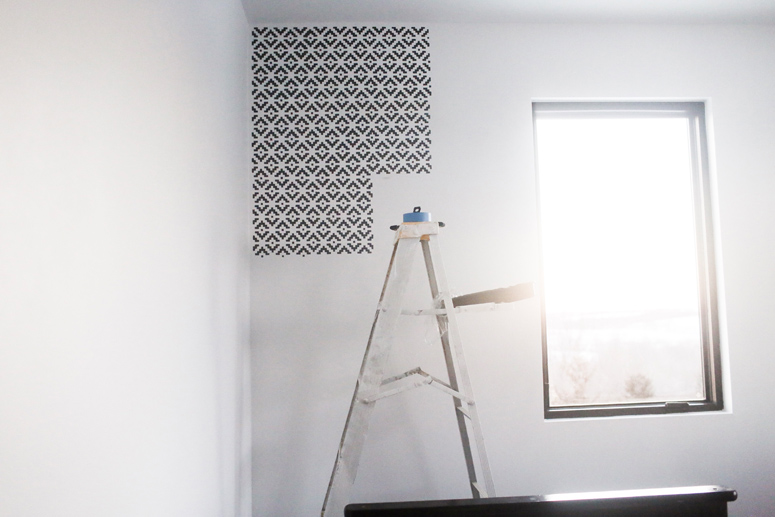
Overall, it took a few days to complete the stenciling project!

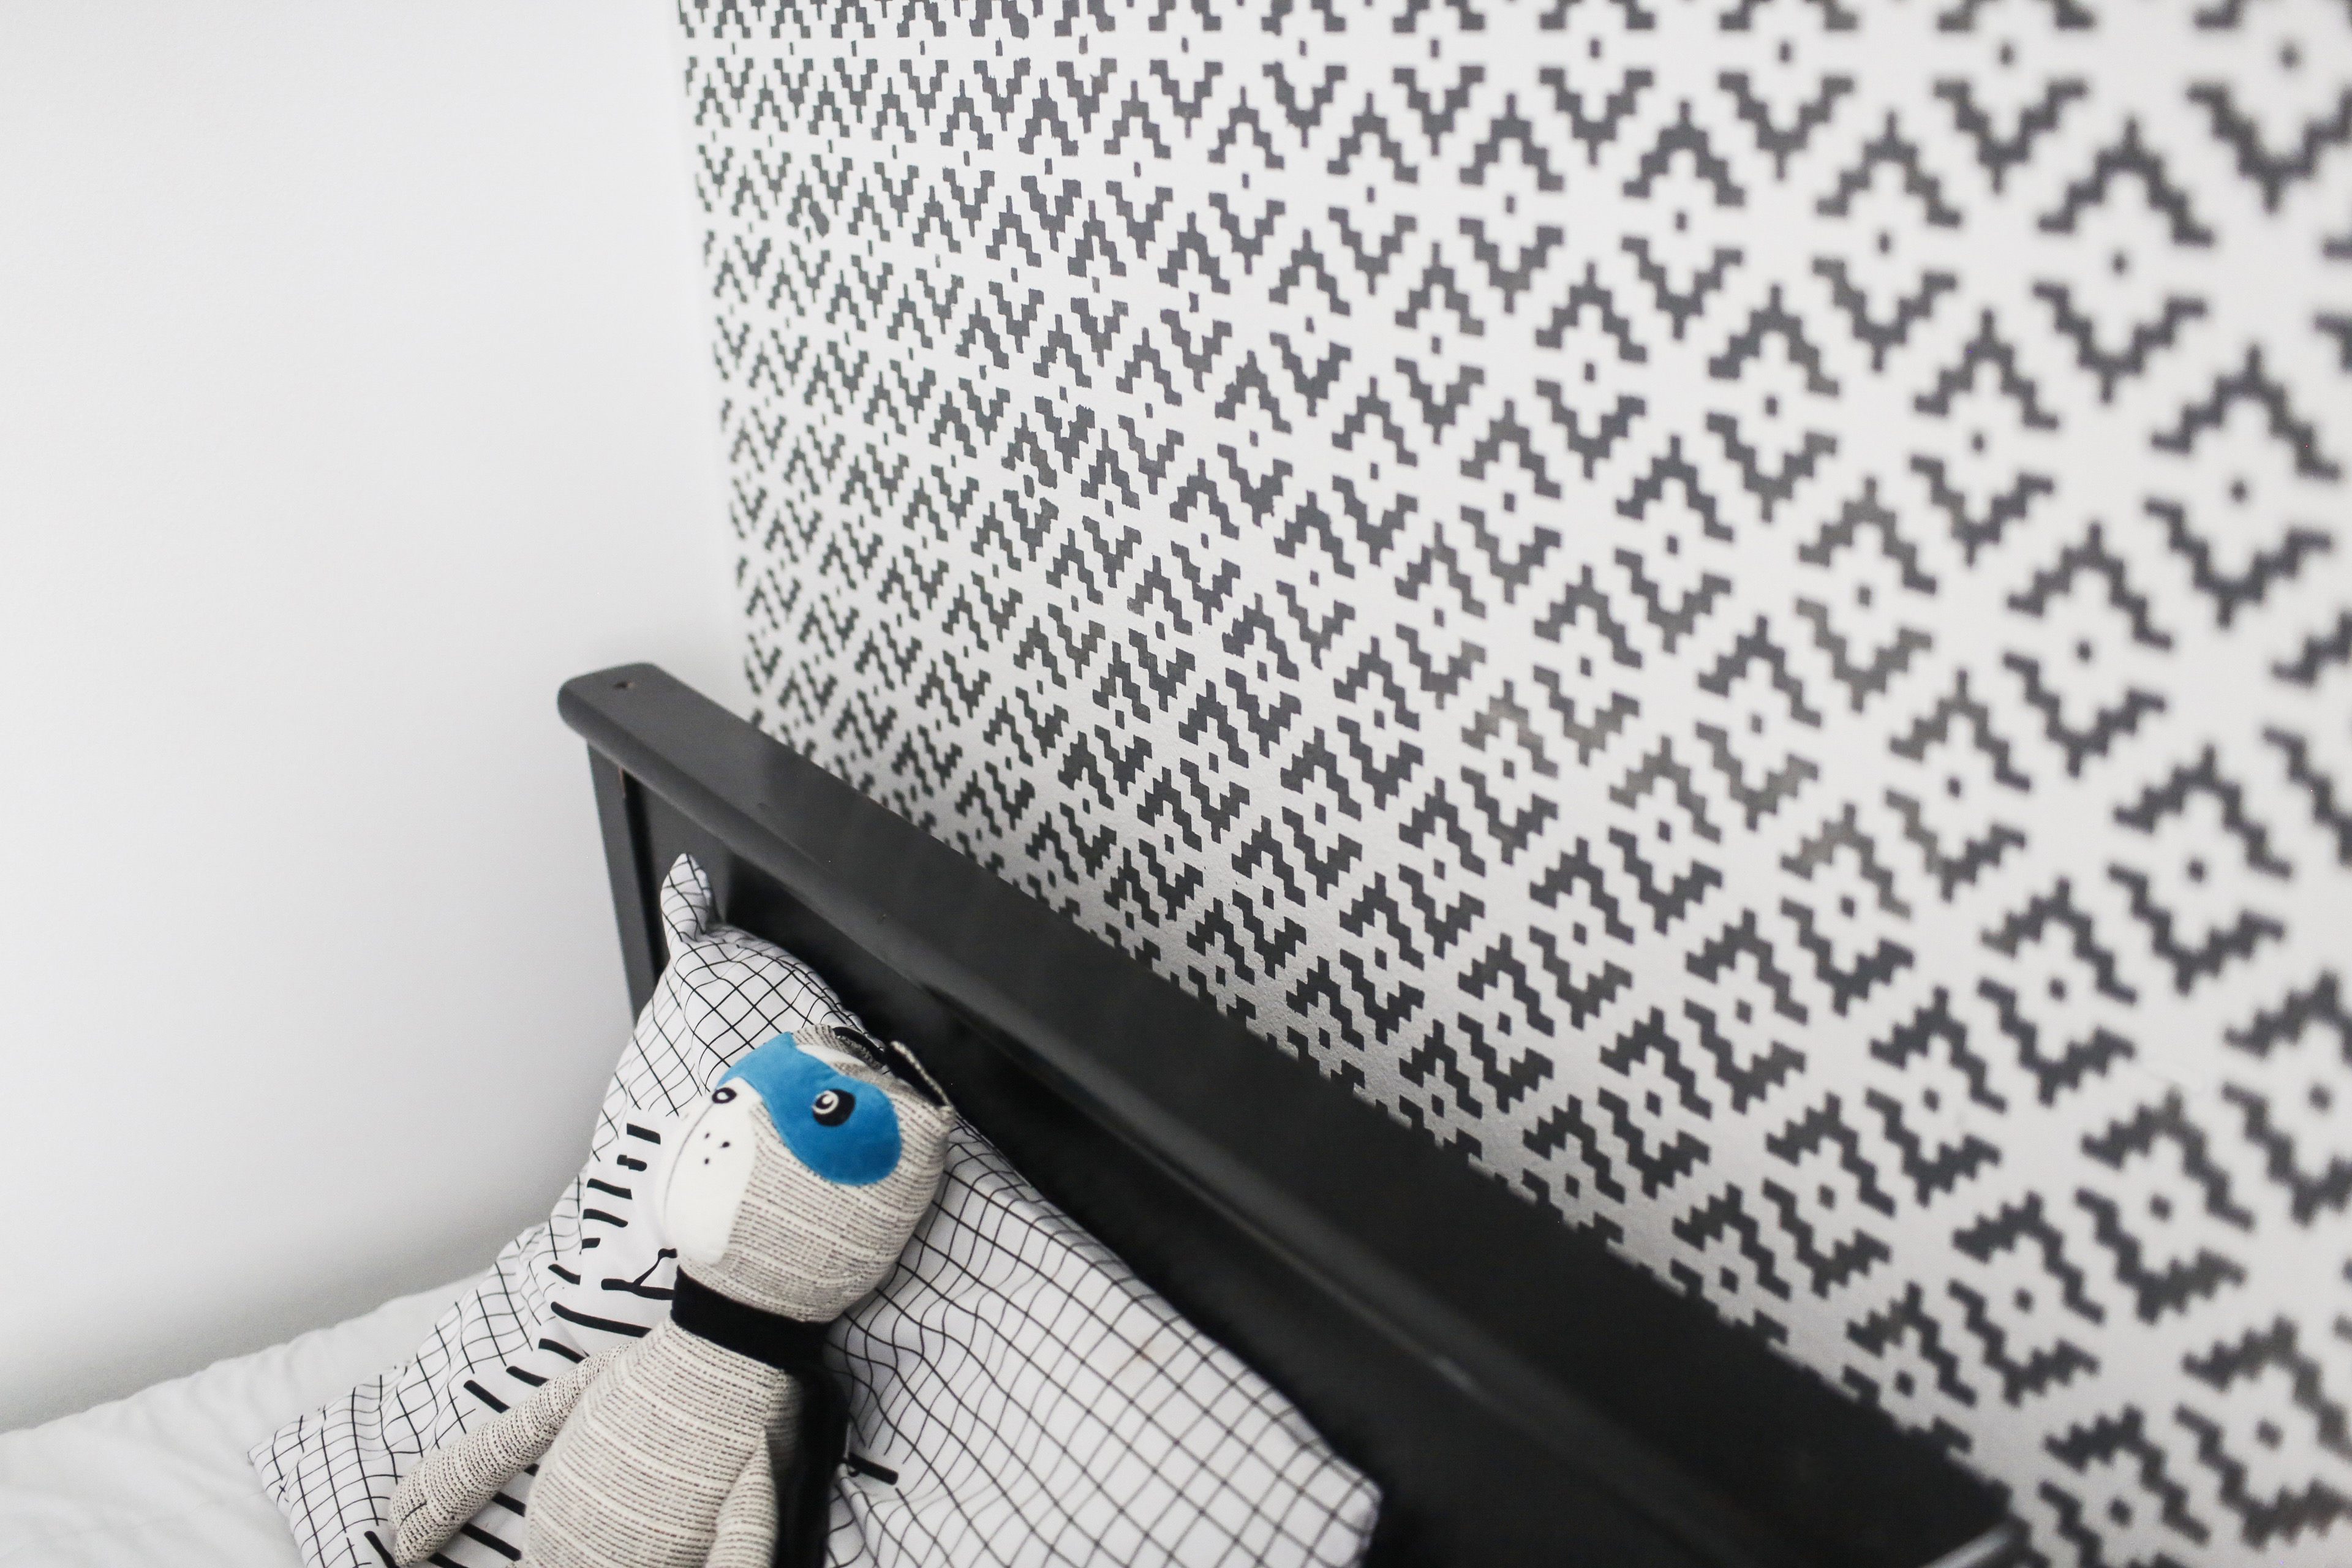
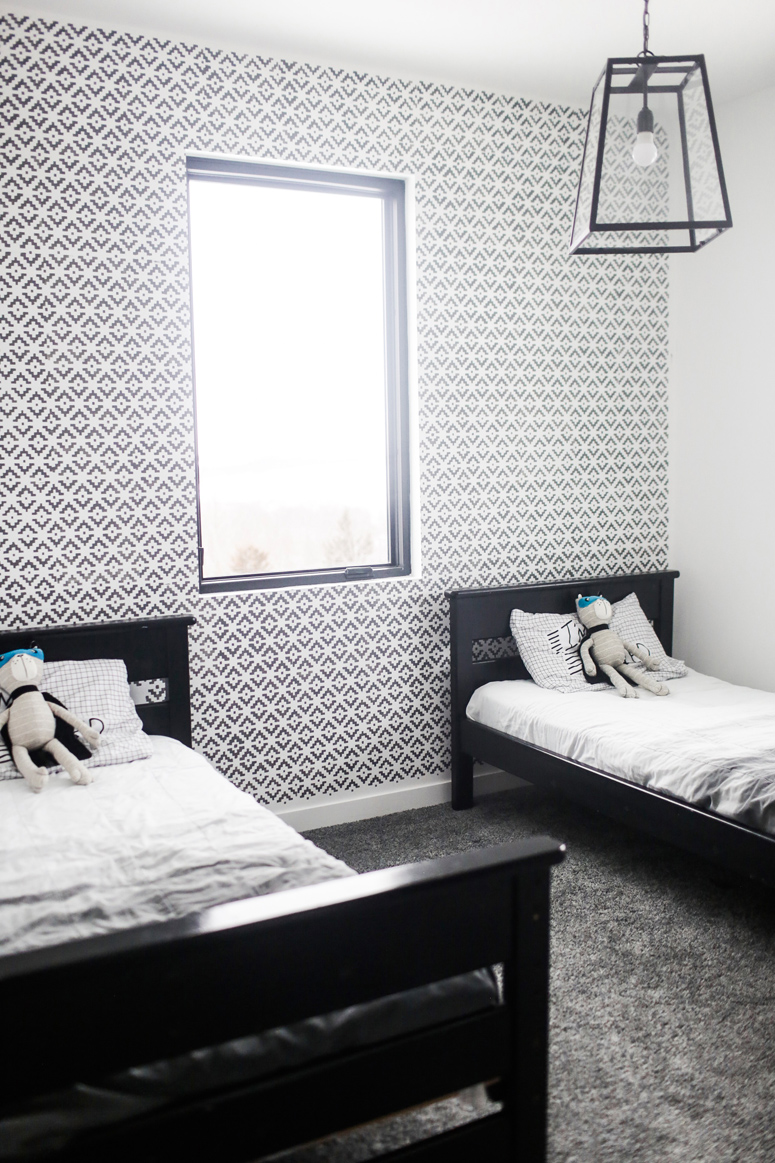
What do you all think?! OMG….Lennon looooooves it! He pretty much thinks I’m the coolest mom ever doing this in his room…HAHA!
The Dutch Boy paint color in Cooled Graphite was perfect for his bedroom since I’m going with a grey, black, and white vibe! This paint along with the stencil design helped with bringing this room come to life. Now time to decorate… I need a table, lamp, wall decor, and a rug…Stay tuned!
Head to CECILIA’S BLOG and INSTAGRAM for more updates on her modern home!
